
Here's a quick look at the process.
Start with blank tiles found at the home-fixin' store (these came from Menards).

Gather some of your favorite decorative papers.

Decopage the papers onto the tiles. Let dry. Use a sharp razor to trim the paper around the edges.

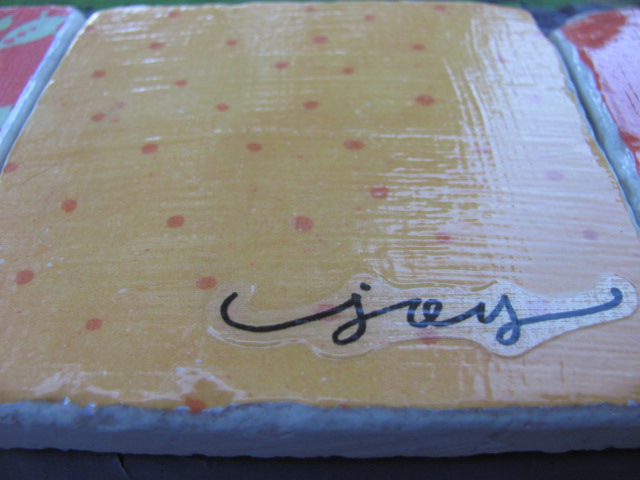
Add word rub-ons or stickers if you wish. (I made a total of 8 coasters - 4 had words - 4 didn't.)

Add self-adhesive pads to back of coasters (one in each corner) so they won't scratch your table surfaces.

Spray with several coats of clear protective spray. Let dry thoroughly between each coat.

When spraying multiple coats, don't accidently grab the WRONG black can and begin spraying the tiles. IF you do, quickly cuss - then run to your cabinet and find some paint thinner. Pray your entire way back to you project that the paint thinner will work. Thank God that you already have a coat of poly on the coaster, so when it sprays black spray from the wrong can, it DOES come off with the paint thinner. (Trust me on this one. Yup. I really did it.) Breathe a huge sigh of relief.

(See how similar the cans look? Only, one sprays clear liquid and one sprays black liquid!)

And, after a short panic, two sets of coasters are created!


They came out great -- love the words on them!
ReplyDeleteThanks for showing how -- I just might have to try this (but I'll leave the black spray under lock and key)!!